Managing your compose stacks using Dockge
As you may have noticed, I like using docker compose for managing the service stacks I have, even if the container does not need any configuration or variables besides a command. Adding all the notes inside and having a structured way where you can keep all of your configuration is much more convenient than trying to remember the command you need to run.
Some links may be affiliate links that keep this site running.
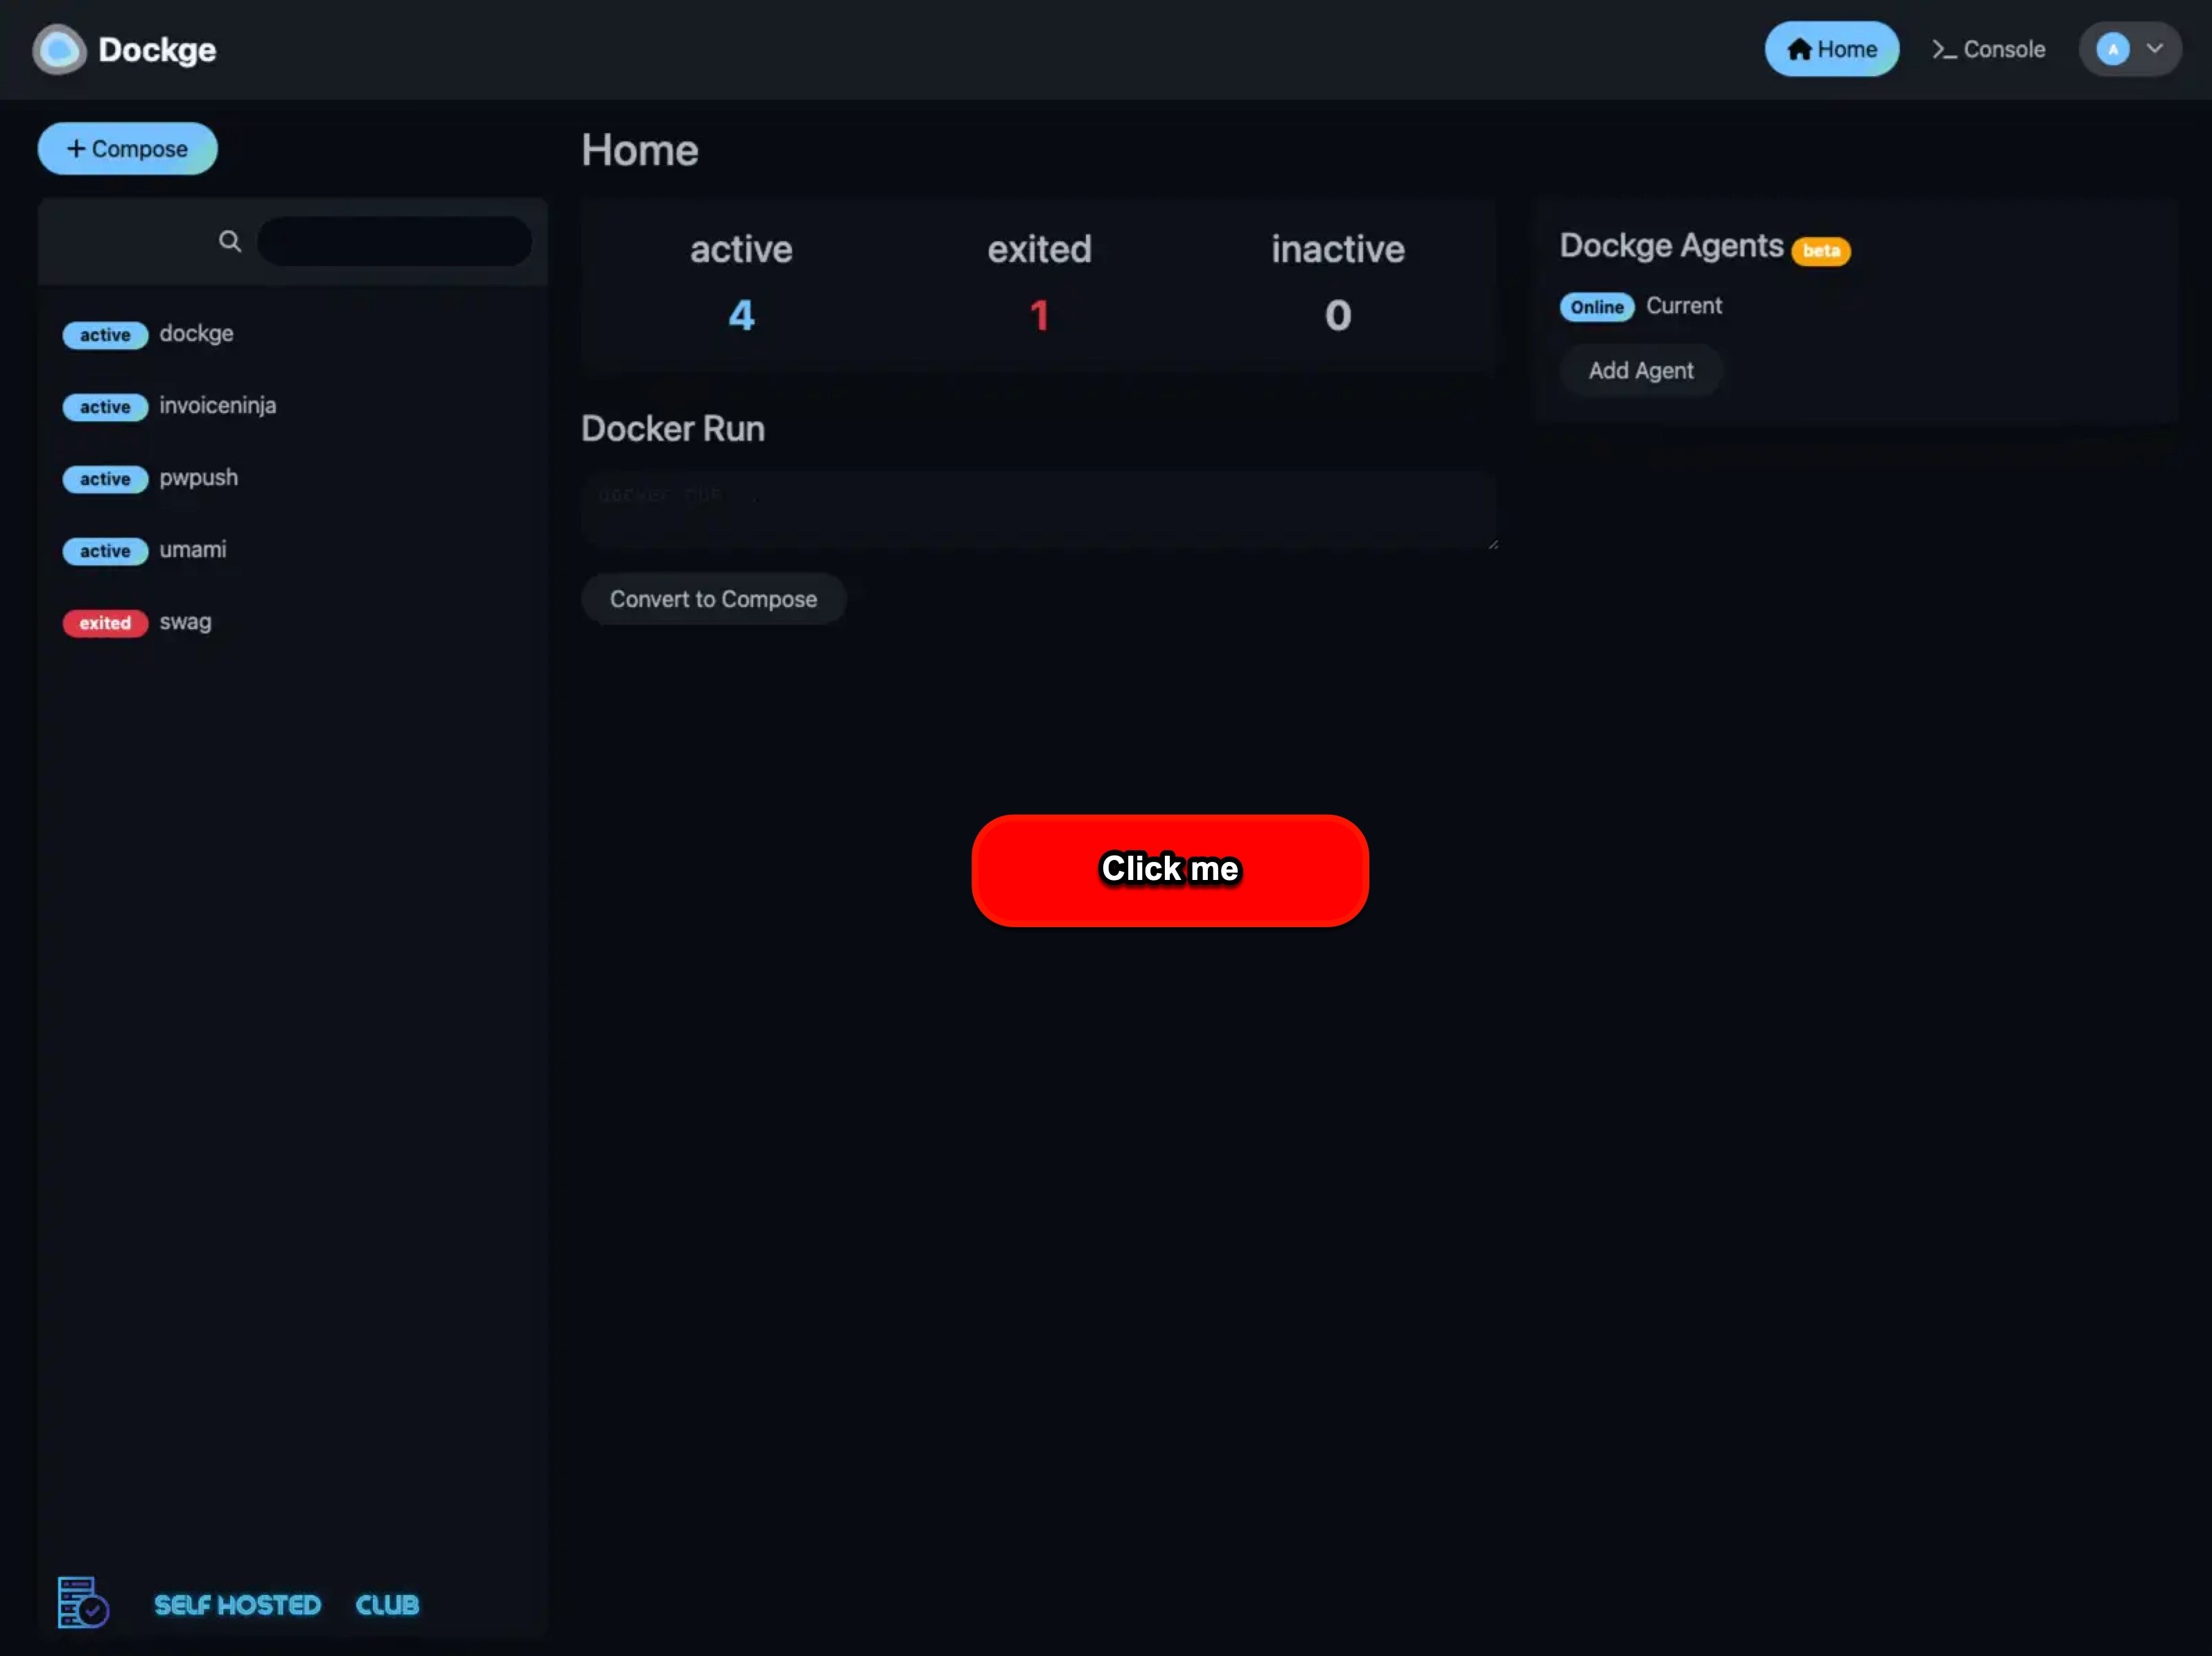
A new addition to the selfhosted stack is dockge, from the creator of UptimeKuma of which I have written a few posts before. Dockge is a docker compose stack manager which some of the highlights of it are interactive editing of compose files, converting run commands to compose files, multi-host management of stacks and a web terminal.
I have created an interactive element below to let you explore the usage and learn the dashboard before you install it (a new window will pop up).
 Click above to enter an interactive demo
Interested? Let’s get started
All the official documentation is located at the github of dockge (link above).
Dockge docker compose
Project site has a docker compose file for us to get started quickly, to grab it, run:
1
2

mkdir -p /docker/dockge
curl "https://dockge.kuma.pet/compose.yaml?port=5001&stacksPath=/opt/stacks" --output docker-compose.yaml
The original compose looks like this:
1
2
3
4
5
6
7
8
9
10
11
12
13
14
15
16
17
18

version: "3.8"
services:
  dockge:
    image: louislam/dockge:1
    restart: unless-stopped
    ports:
      - 5001:5001
    volumes:
      - /var/run/docker.sock:/var/run/docker.sock
      - ./data:/app/data
      # Stacks Directory
      # ⚠️ READ IT CAREFULLY. If you did it wrong, your data could end up writing into a WRONG PATH.
      # ⚠️ 1. FULL path only. No relative path (MUST)
      # ⚠️ 2. Left Stacks Path === Right Stacks Path (MUST)
      - /opt/stacks:/opt/stacks
    environment:
      # Tell Dockge where to find the stacks
      - DOCKGE_STACKS_DIR=/opt/stacks
Editing the compose file
We will do a small modification to find all of our stacks, I usually place these in /docker directory and also write the guides to reference that.
You’ll want to also remove the ports, as we will configure SWAG as the reverse proxy.
The compose configuration will look like this:
1
2
3
4
5
6
7
8
9
10
11
12
13
14
15
16
17
18
19
20

version: "3.8"
services:
  dockge:
    image: louislam/dockge:1
    restart: unless-stopped
    hostname: dockge
    networks:
      - lsio
    volumes:
      - /var/run/docker.sock:/var/run/docker.sock
      - ./data:/app/data
      # Stack Directory
      - /docker:/docker
    environment:
      # Tell Dockge where to find the stacks
      - DOCKGE_STACKS_DIR=/docker

networks:
  lsio:
    external: true
SWAG configuration
We will create a reverse-proxy configuration for Dockge.
1

sudo nano /docker/swag/config/nginx/proxy-confs/dockge.subdomain.conf
Paste the configuration below into the file:
1
2
3
4
5
6
7
8
9
10
11
12
13
14
15
16
17
18
19
20
21
22
23
24
25
26

## Version 2024/03/14
# make sure that your dockge container hostname is dockge
# make sure that your dns has a cname set for dockge

server {
    listen 443 ssl http2;
    listen [::]:443 ssl http2;

    server_name dockge.*;

    include /config/nginx/ssl.conf;

    client_max_body_size 0;


    location / {

        include /config/nginx/proxy.conf;
        include /config/nginx/resolver.conf;
        set $upstream_app dockge;
        set $upstream_port 5001;
        set $upstream_proto http;
        proxy_pass $upstream_proto://$upstream_app:$upstream_port;

    }
}
Starting thing up
Bring up dockge and restart SWAG:
1

docker compose -f /docker/dockge/compose.yaml up -d && docker restart swag && docker logs -f dockge
You can head now to the folder where your dockage is responding to, after you set up the username and password you will be greeted with the home page as you can see below:
 Dockge login page
Have fun! Check out the interactive demo at the top of the page.
